In the previous article we talked about the advantages of polyethylene tanks, and for this reason in this post we want to continue with this topic and give you a little bit of information on how to repair a PE tank.
As you may know, in Llaberia Group we manufacture and commercialize Polyethylene tanks and other plastic materials, even custom made. If you are one of the few who did not know it or you are new in the sector, click on this link to see how we work and also some of our projects.
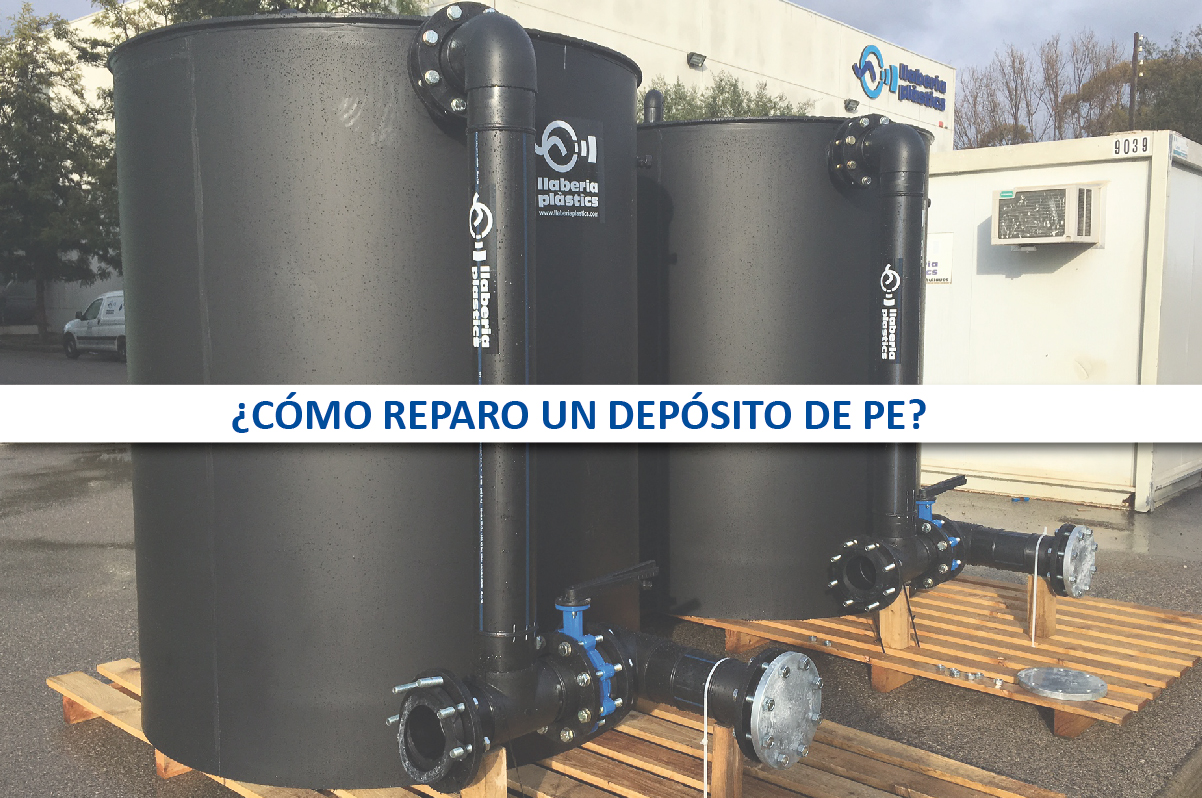
Polyethylene (PE) tanks are one of the best options if your goal is to store water or other liquids, such as chemicals, in large quantities.
The manufacture of a polyethylene tank is a bit slow and complex. For that reason, they are not usually manufactured in series or have a very high stock, they produced on demand instead. In this way, you can also fit the customer’s needs. The customization of the products is an added value of our company and something that is highly valued by our customers, as they see it positively reflected in their results.
Although we saw that the tanks of this plastic material are very resistant to external agents, sometimes there may be small leaks or breakages caused by extreme situations. As we have already mentioned, their cost is quite high, so with some help you can save yourselves from having to buy another part again. Let’s see!
How to repair a Polyethylene tank
To sum up, the repair of a Polyethylene tank is done using a heat gun. Let’s take it step by step:
- First, we must empty the tank until it is below the crack or fissure to be repaired.
- Once the tank has been emptied until necessary, the area or areas of the cracks must be thoroughly cleaned with soap and water until there are no traces of other substances, we only want polyethylene.
- Next, we will take a drill with a small drill bit and make an incision on each side of the crack. It is very important to do it slowly and accurately. What will it be used for? These holes will be used so that the crack does not get bigger on either side.
- Now, we are going to use the main tool of the process, the heat gun. First of all, we must preheat the area to be repaired for safety reasons. The heat distribution has to be the same over the entire surface of the crack.
- Now that the area to be repaired is heated, we will add the filler material, in this case in the form of a strip. We will place the filler strip over the entire crack and we will continue heating the area of the crack with the gun. With great care, we will move the product so that it fills the crack completely. With the help of a spatula, we will mold the material to the crack. The leftover remains will be as easy as eliminating them with a cutting tool.
- Finally, we will check the effectiveness of the repair. How? To do this, we will fill the polyethylene tank with water again and we will check that there are no leaks. If there are still leaks, we will repeat the process, but this time you will have to pay more attention. If on the other hand we see that there are no more leaks, congratulations, you have succeeded, you can use your tank again!