
Artificial turf has become the best solution for those who want to have a beautiful garden and save on maintenance costs because it does not require much maintenance. In this article, we tell you all about how to install artificial turf.
Artificial turf features
- Resistance to temperature changes
- Softness
- Versatile when installing
- Minimal maintenance when required: watering to clean dust, removing leaves and brushing to lift it up
- Non-flammable. You can be calm if fireproof elements such as cigarette butts or barbecue embers fall on it.
- Great drainage capacity. For this reason, it is a perfect option to place it around swimming pools.
- Resistant and durable
Of course, not all models and brands are the same. That is why we recommend to invest on good turf so that it looks like the first day. We recommend NORTENE turf, which of course you can find in our store.
As we mentioned before, artificial turf is a very versatile product that can be installed easily on any type of surface: soil, concrete, tiles, etc.. And this is why more and more people are deciding to install it in their homes. Today we are going to explain in a few brief steps how to install artificial turf on soil and tiles. And we are also going to offer a series of tips to keep in mind when installing it. Do not miss it!
How to install artificial turf on soil
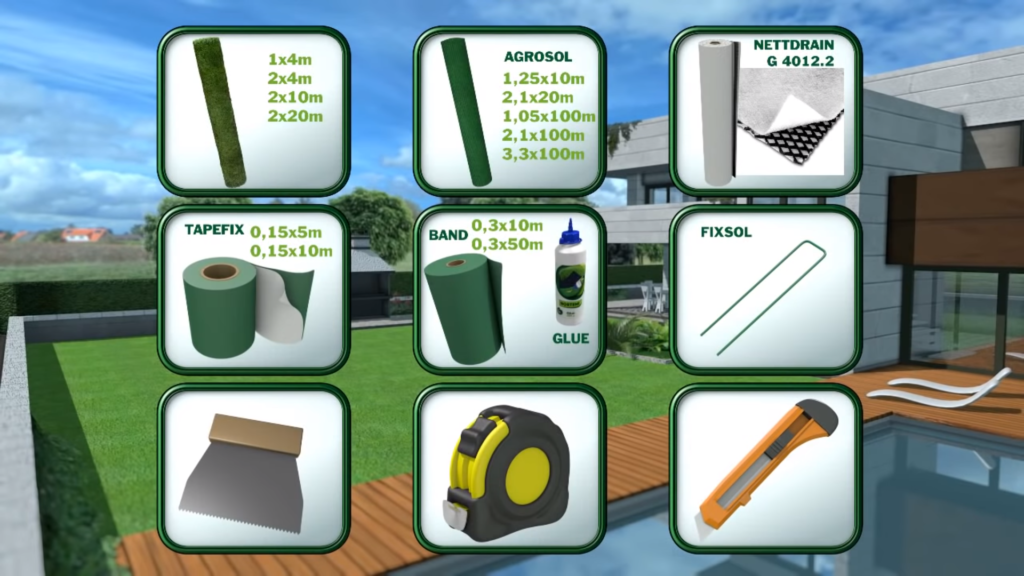
Before we start with the steps, let’s review the material and tools we need:
- River gravel and sand
- Geotextile mesh
- Garden roller
- Artificial turf according to your surface
- Weed control netting
- Anchors (metal staples, nails…)
- Hammer
- Cutter
- Self-adhesive tape or adhesive tape and specific adhesive
- Serrated spatula
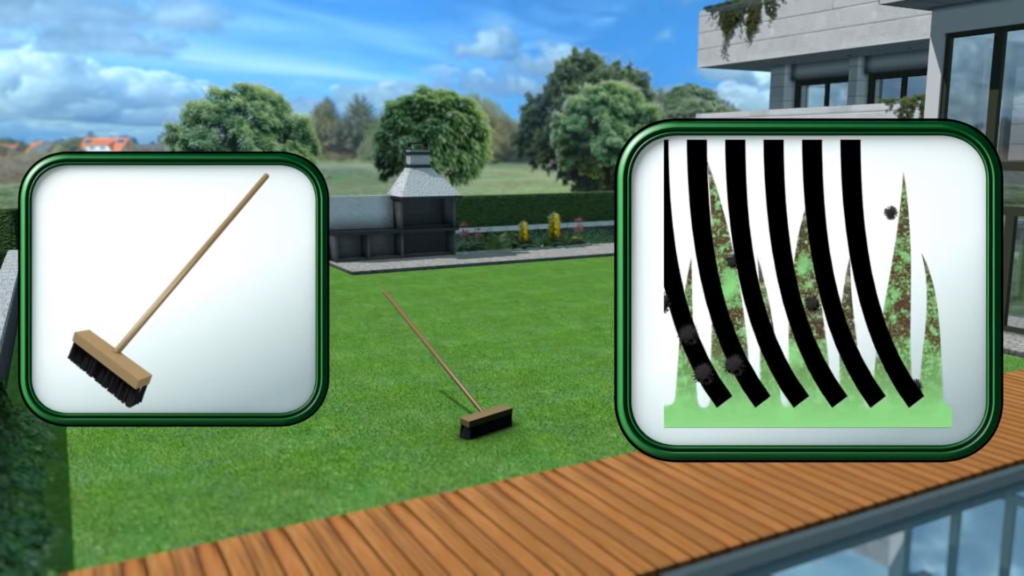
- Brush
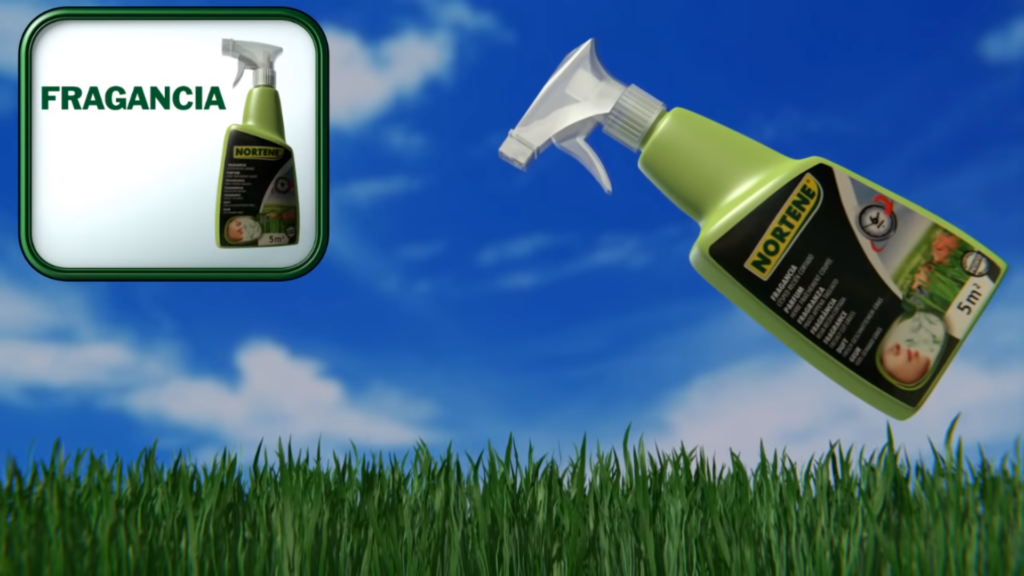
- Sanitizing fragrance
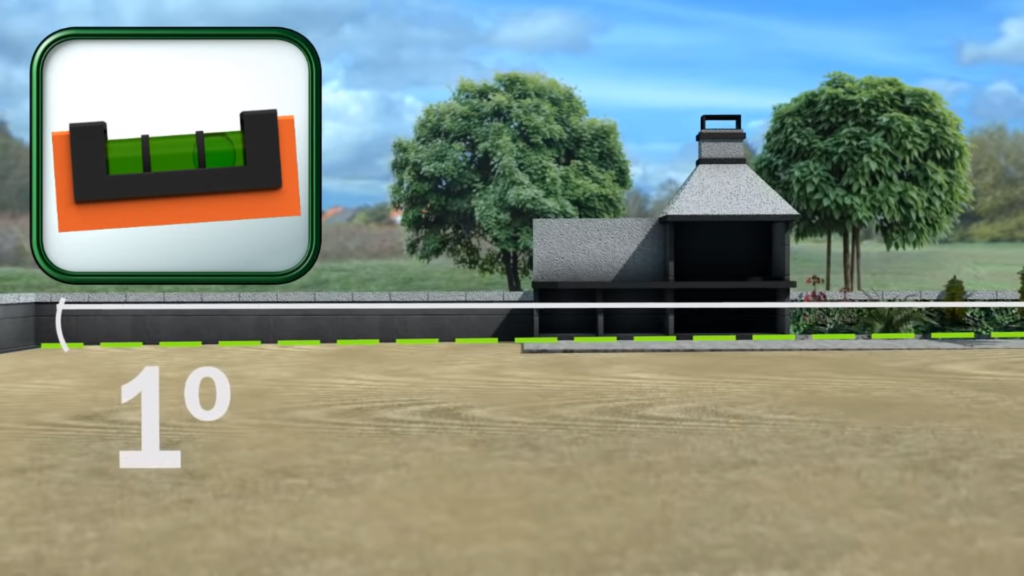
Step 1: Prepare the ground
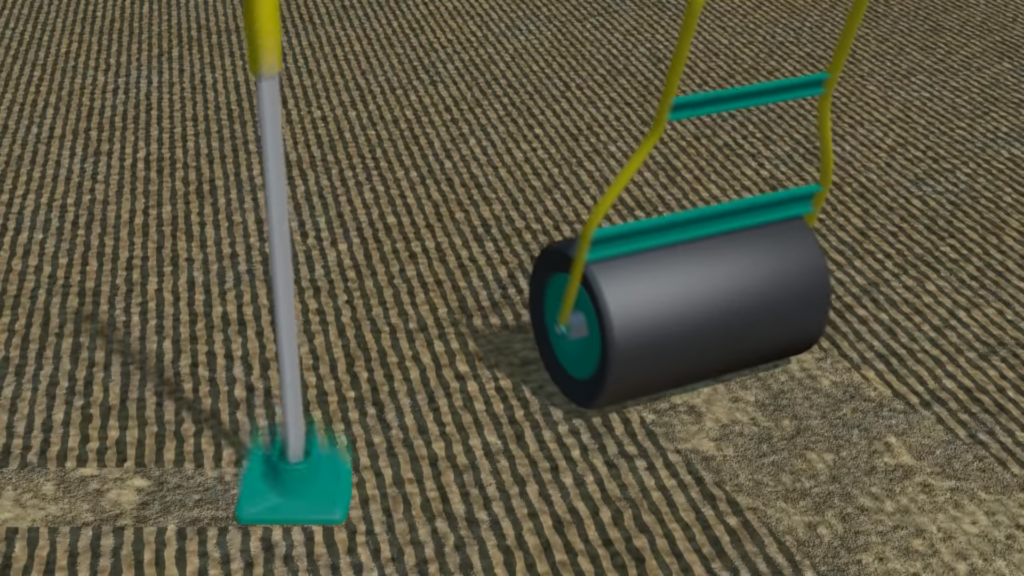
Before starting the installation, we have to fix the soil so that it is compact and smooth with a garden roller trying to make the surface with a gentle slope so that water does not accumulate.
It is also advisable to add a layer of gravel and another of sand to achieve a perfect drainage and an optimal settlement of the turf.
Tip! Separate the layers with a geotextile mesh to prevent the sand from disappearing with the water drainage.
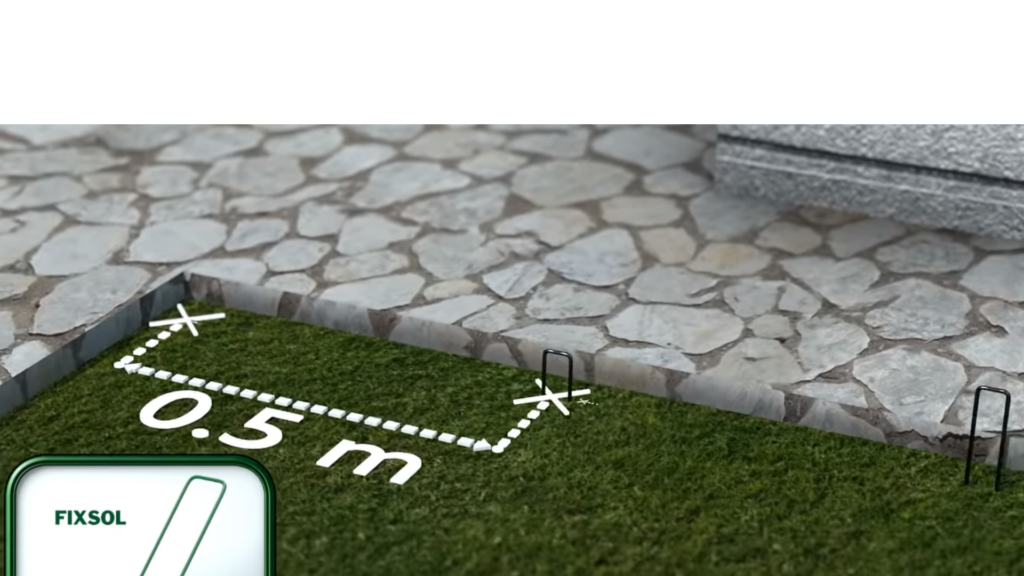
Step 2: Laying weed control netting
When we have the soil ready, we are going to place an anti-weed mesh over which we are going to place the turf. This mesh will prevent weeds from sprouting among the turf. Also, it will also have a separating function and will improve filtration and drainage.
It is important to secure the mesh with anchors, metal staples or nails both in the joints and around the perimeter of the mesh.
We can cut the pieces of mesh that we need with a cutter, always leaving about 10cm of excess at the ends.

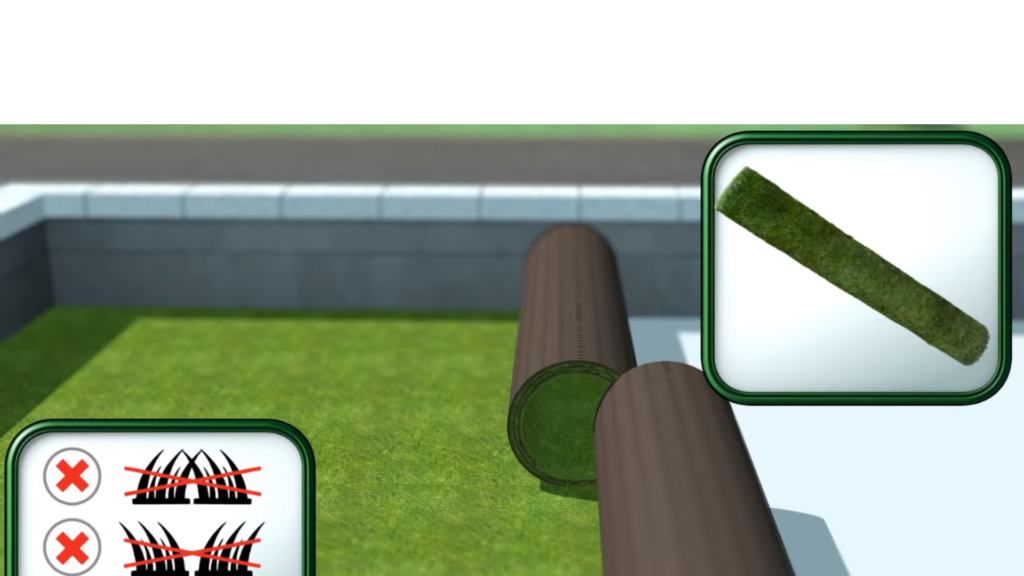
Step 3: Prepare the turf
Once the floor is ready, unroll the turf face down, place it well to avoid folds and creases and clean it up a little to eliminate any imperfections.
With the cutter, we cut the turf to the size we need from the back side, avoiding cutting along the line of threads at the back.
Tip! Make sure that the turf fibers are facing the same direction so that the difference between the different pieces is not noticeable and looks more natural.
Step 4: Laying and fixing the turf
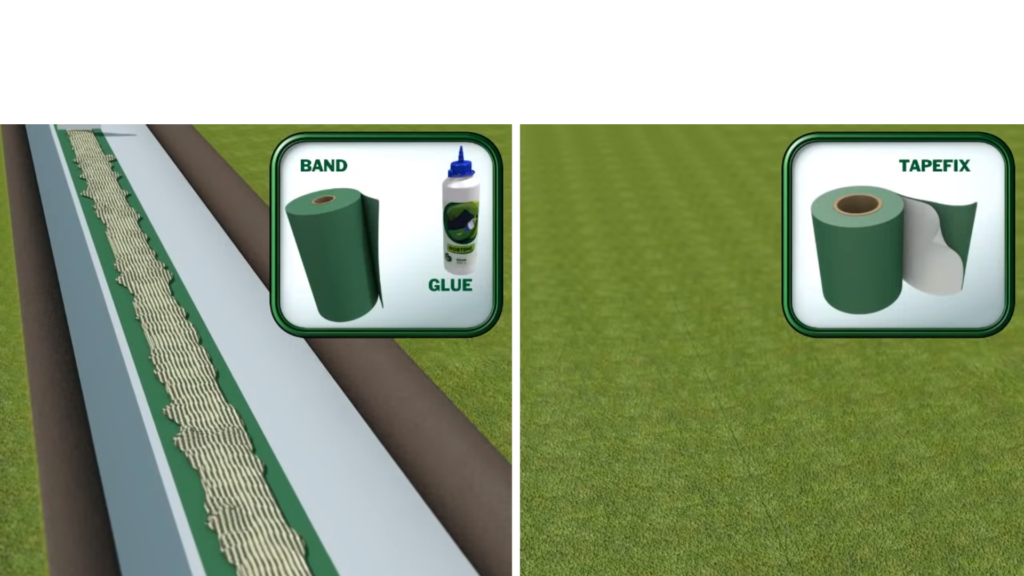
To fix the turf strips to the ground we can use a jointing or overlapping band and glue, but we can also use self-adhesive tape. Anyway, in both options we have to lift the edges of the turf strips and fold them on themselves between 20 and 30 cm to correctly place the band between them.
- Option 1: self-adhesive tape
To attach the turf to the tape, we only have to remove the paper covering the adhesive.
- Option 2: bonding strip and glue
In this option we have to spread the specific glue on the strip and spread it well with a toothed spatula in order to fix the turf strips correctly. Our glue is completely free of isocyanates, silicones and solvents and is also suitable for adhesion on the vast majority of construction materials: concrete, brick, ceramic…
Caution! Adhesive stains should be cleaned immediately with acetone.
Whichever option you choose, you should press the turf with your hands so that it is well glued on all sides, trying not to notice the joints.
Finally, trim the excess grass to fit the perimeter of the surface.
Tip! Place heavy objects on the joints during the first 24 hours of drying.
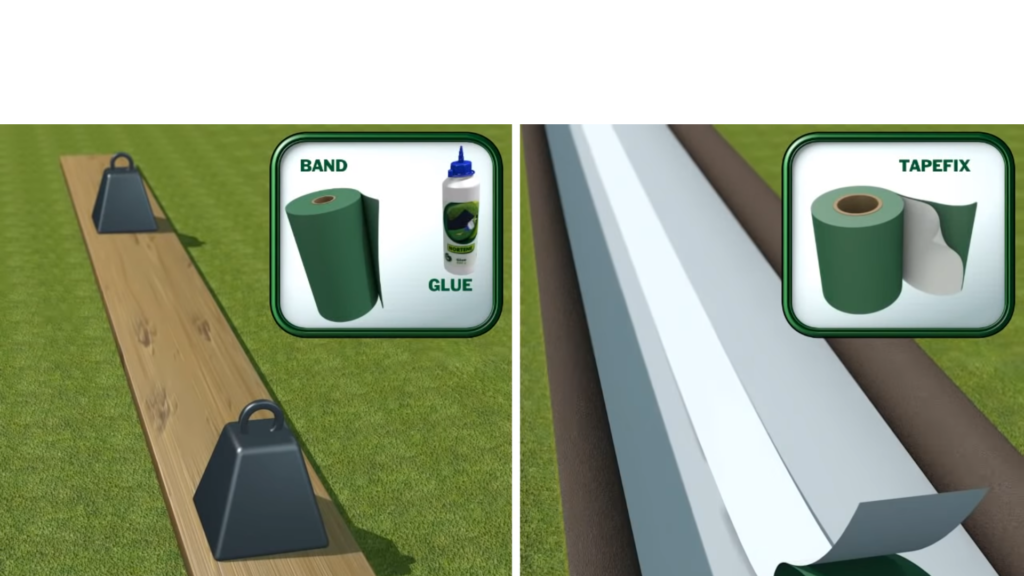
Step 5: Secure the edges
To prevent it from being lifted by footfall or wind and tripping, we will secure the turf to the ground with fastening staples that we can hammer in with a hammer.
Step 6: Finishing touches
To finish, we will brush the turf against the grain to lift the fibers and make it more beautiful. This action will facilitate the last step, which is optional, and this is to insert silica sand between the fibers.
This is an optional step but backfilling the turf with silica sand:
- Improves grip
- Retains humidity and prevents the turf from heating up in high summer temperatures
- Helps the turf maintain its posture and prevents the fibers from flattening out.
The sand can be easily spread with a rake and once distributed it is advisable to water the turf with the sand so that it settles, remains unnoticeable and as natural as possible.
Tip! To make it even more perfect, you can spray the turf with our sanitizing fragrance as it prevents the appearance of bacteria and smells like a freshly cut natural grass.
How to install artificial turf on tiles
The material and the tools that we are going to use are going to be the same that on soil except for the gravel and the sand because in this case we are going to place the turf on tiles.
As far as the steps are concerned, they are also very similar to those of the previous installation with some small variations that we will also discuss.
Step 1: Prepare the floor
Obviously, it is very important that the floor where we are going to lay the turf is in good condition. For this reason, before starting, we have to clean and sweep the tile pavement. We can do it in the traditional way, with broom and mop, or with a pressure washer.
ATTENTION! It is necessary that the surface has a small slope towards a drain.
Step 2: Prepare the turf
Unroll the turf flattening it to avoid folds and creases. We will turn it so that the lower part is on top and with the cutter we will cut strips according to the size we need. We will also polish the edges since, remember! it is very important to perfect and dedicate time to the edges to avoid showing the joints. So, it is also important to check that all the pieces fit together correctly.
BEWARE! With the orientation of the fibers of the pieces, if they are in different directions the surface will not be unified.
Step 3: Laying and fixing the turf
As far as the laying of the turf is concerned, it is laid in the same way as on soil. We can choose the option of fixing it with adhesive strips (simpler) or with adhesive tape and glue.
Be careful! Try not to apply too much adhesive so that it does not overflow when gluing the strips and the turf gets dirty.
Step 4: Finishing touches
As in the previous case, to get a beautiful turf, we must brush it against the grain to lift the fibers so that they are as natural as possible. As we said before, this step will facilitate the last and optional step, which is to put silica sand between the fibers. Let’s remember that the fact of putting silica sand improves the grip, makes the fibers stay in their position, prevents the turf from heating up during the summer… In short, it extends the duration in good condition of the turf.
If you decide to use this type of sand, remember to hose down the turf so that it settles and remains unnoticeable.
Last tip! And of course, to give it the final touch, you can spray the turf with sanitizing fragrance to prevent the appearance of bacteria and give it the smell of freshly cut natural grass.
These short steps surely helped you install artificial turf easily. You will only have to enjoy it and keep it perfect as the first day.